
Are you planning on planting a vegetable garden this year? If so, get a head start by planting your seeds indoors!
While not all plants are suited to this method, many vegetables are. Suitable vegetablesinclude broccoli, Brussels sprouts, cabbage, cauliflower, celery, eggplant, leeks, onions, parsley, peppers, tomatoes and squash. Vegetables that do not do well when transplanted and therefore should not be planted indoors ahead of time include root crops such as carrots, beets, turnips, and parsnips as well as corn, beans, peas and okra.
While it is helpful to start early with many types of seeds, it is also important that you don’t plant the seeds too soon. In order to determine when to start sowing your seeds indoors, count backwards from the suggested planting time on the back of the seed packet. Most seeds will need to grow for approximately two to eight weeks before being transplanted into the garden. The suggested timeline will refer to your last frost date. If you are unsure of when this is, visit The Old Farmer’s Almanac: Canada or the The Old Farmer’s Almanac: United States.
All the supplies you need to start growing your seeds indoors can be found around the house or at a local hardware store or garden centre. For example, old food containers can be used to plant seeds in. It is important, however, that any materials you are using or re-using are sterile. To sterilize seed trays use a weak bleach solution (approximately one part bleach to nine parts water). If you are using your own soil it is a good idea to spread it in a shallow pan and to set it in the oven (at 180 C, 350 F) for thirty minutes to be sure that it is sterilized as well.
How To Get Started:
Please note: Before getting started, it is important to read the back of the seed packet for any additional steps that may be required.
Step 1: Fill your starter tray (or re-useable food containers) with loosely packed soil. Using the spacing instruction on the back of the seed packet, poke holes in the soil for the seeds.
Step 2: Plant your seeds in the holes.
Step 3: Lightly water the newly planted seeds (be sure not to over water, as the seeds may float out of their planting holes). Once watered, cover the tray with a plastic lid (or, if you are re-using containers, place them inside zip-lock bags) to keep the moisture trapped. (At the first signs of germination, uncover the tray or remove the container from the plastic bag.)
Step 4: Over the first few days, check the tray to test moisture levels. Add water as needed.
Please Note: Water carefully. Use a small watering can to gently water the seedling only when the top of the soil appears to be dry. It is important that you do not over water as this can lead to the death of young plants.
Keep the tray in a relatively warm environment and provide at least eight hours of light daily. A bright window will work however, grow lights or fluorescent tubes are better, especially in dull winter climates. If you are using grow lights or fluorescent tubes, make sure to keep the seedlings approximately eight to ten centimeters (three to four inches) away from the light source.
It is important that you pick a good growing site for your seeds to germinate. The top of a fridge is a good spot, as the heat will help keep the soil warm and aid in germination.
Step 5: Transplant healthy sprouts to larger pots so they can develop a stronger root system. This will help make the transplanting process easier on them.
Once the outdoor gardening season arrives you will have strong, healthy sprouts to plant.
Good luck and have fun!
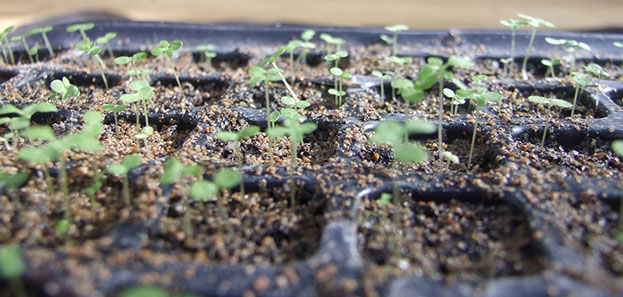
Image by Leaf by Leaf